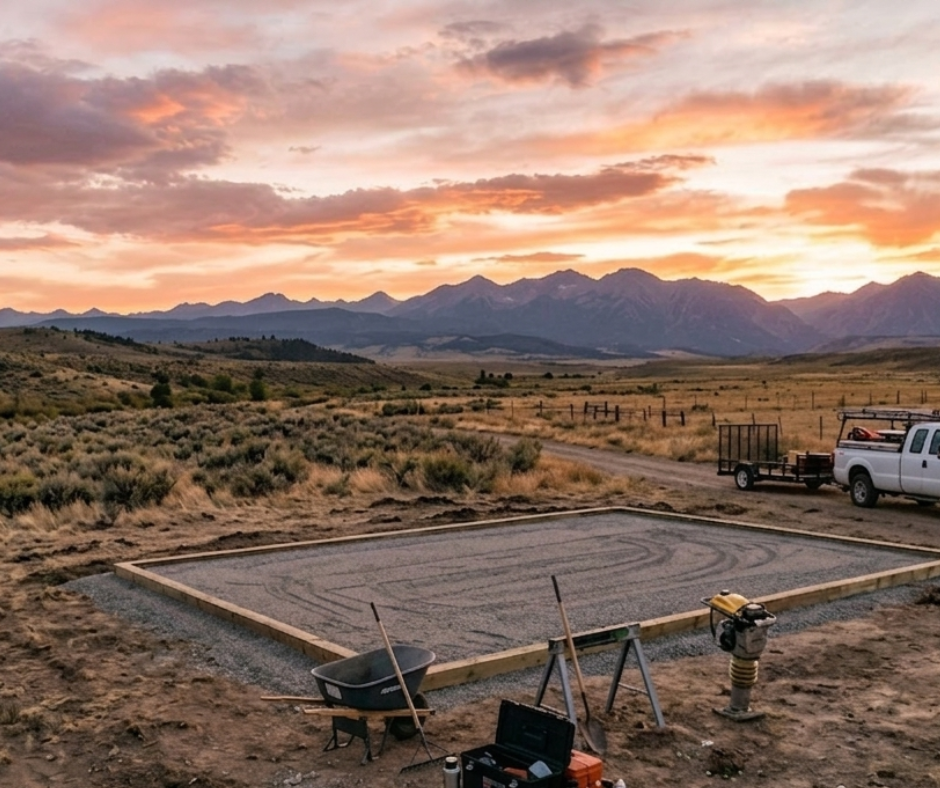
Short answer: in Colorado, a 4 to 6 inch compacted pad of 3/4 inch road base, built one foot larger than the building on every side, is the right foundation for most sheds. Pour concrete only when you are parking vehicles, finishing the interior as living or garage space, or when your building department requires it.
Nothing determines how a shed ages more than what is underneath it. Get the base right and the floor stays flat, the doors keep latching, and the runners stay dry for decades. Get it wrong and you will feel it the first spring — a corner drops, the roll-up door binds, water sits under the floor after every melt.
This guide is written for Colorado ground: freeze-thaw cycling, expansive clay along the Front Range, decomposed granite in the foothills, and snow loads that push real weight into the corners. We build, deliver, and set structures on these sites every week out of our yard in Penrose.
Gravel pad vs. concrete slab vs. blocks: choosing a shed foundation
There are really three options homeowners choose between, and the decision is driven by what you are putting in the building — not by how nice the foundation looks.
| Foundation | Best for | Drainage | Relative cost | Permit impact |
|---|---|---|---|---|
| Compacted gravel pad (3/4" road base) | Storage sheds, barns, coops, loafing sheds, studio shells | Excellent — water moves through and away | $ | Usually keeps an on-grade exemption |
| Poured concrete slab | Garages, home shells, vehicles, heavy machinery, finished interiors | Good if sloped and drained correctly | $$$$ | Often triggers permits and engineering |
| Concrete blocks or piers | Small buildings; leveling a shed on an existing pad | Poor — the ground under it still holds water | $ | Varies; least likely to satisfy a reviewer |
The single most common mistake we see is a homeowner spending thousands on concrete for a storage shed that would have performed better and cost less on gravel — and then discovering the slab moved the project into plan review.
When a gravel pad is the right call
- You are storing tools, mowers, ATVs, hay, feed, gym equipment, or seasonal gear.
- The building is a shed, barn, chicken coop, loafing shed, or studio shell on pressure-treated runners.
- Your jurisdiction exempts small accessory buildings that sit on grade.
- You want the building set and usable in a day rather than after a concrete cure.
- Your soil is clay and you would rather drain water away than trap it under a thin slab.
When you should pour concrete
- You are driving a car, truck, tractor, or trailer inside — a detached garage belongs on a slab.
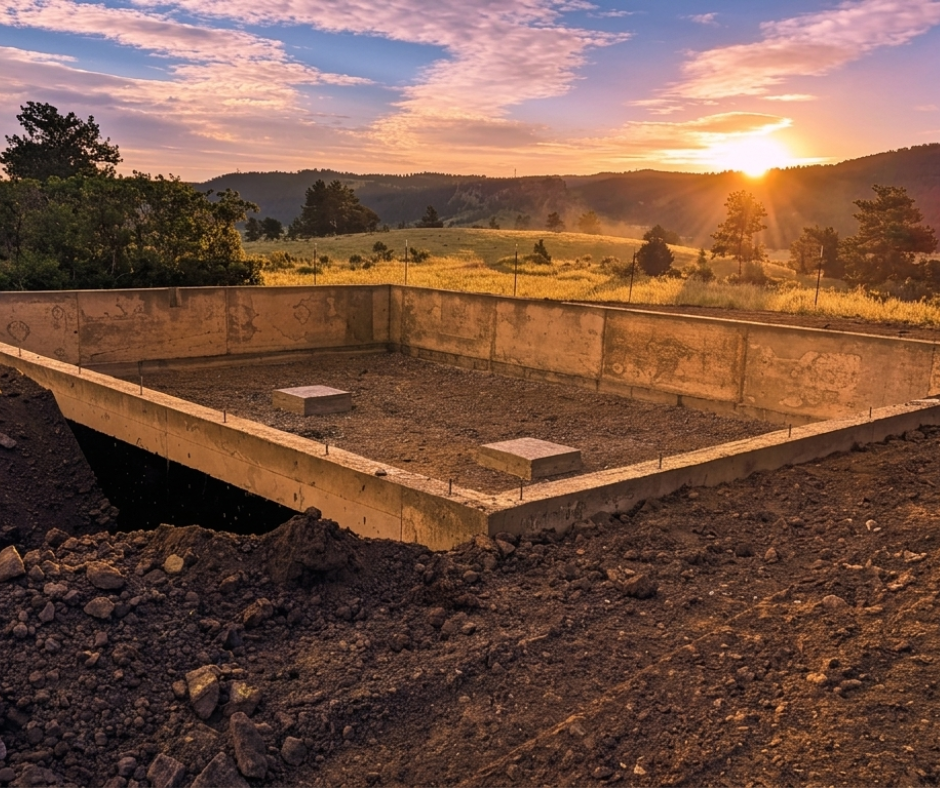
- The building is a code-compliant home shell or will be finished with plumbing and permanent utilities.
- The structure is large enough that your county requires an engineered foundation.
- You are anchoring for wind or seismic requirements written into your permit.
If a garage or shell is what you are planning, read cost to build a detached garage in Colorado next — the foundation is the biggest single line item in those projects.
How to size your shed pad
The rule is simple: one foot bigger than the building on all four sides. That extra foot takes the drip line off the edge of the pad, stops washout under the runners, and gives the delivery crew somewhere to stand.
Note that we measure our buildings out-to-out, so use the actual outside dimensions of the model you ordered — not the nominal name — when you stake the pad.
| Shed size | Pad size | Gravel at 6" deep (cu. yd.) | Approx. tons |
|---|---|---|---|
| 8x10 | 10x12 | 2.2 | 3.1 |
| 10x12 | 12x14 | 3.1 | 4.3 |
| 10x16 | 12x18 | 4.0 | 5.6 |
| 12x20 | 14x22 | 5.7 | 8.0 |
| 12x24 | 14x26 | 6.7 | 9.4 |
| 14x32 | 16x34 | 10.1 | 14.1 |
To calculate any other size yourself: (pad length in feet x pad width in feet x depth in feet) / 27 = cubic yards. Six inches of depth is 0.5 feet; four inches is 0.33. Multiply cubic yards by roughly 1.4 to estimate tons, which is how most Colorado quarries sell base course.
Not sure which size building you actually need before you stake anything out? Our Colorado shed size guide walks through what fits in each footprint.
How to build a gravel shed foundation, step by step
This is a weekend project for most homeowners with a rake, a level, a long straight 2x4, and a rented plate compactor.
- 1. Pick and check the spot. Confirm your setbacks from property lines and easements, keep clear of the leach field and sprinkler lines, and leave the delivery truck a path at least as wide as the building.
- 2. Stake it square. Mark the pad corners, then measure both diagonals — when the diagonals match, the layout is square. A 12x14 pad should measure about 18 feet 5 inches corner to corner.
- 3. Strip the sod and topsoil. Remove 4 to 6 inches of organic material down to firm subgrade. Gravel spread over grass will settle, because the grass underneath rots away.
- 4. Lay woven geotextile fabric (optional but recommended on clay). It keeps base course from working down into the soil and suppresses weeds.
- 5. Spread 3/4 inch road base in lifts. Two to three inches at a time, raked flat and level, working out to every corner.
- 6. Compact each lift. A plate compactor or vibratory roller is what turns loose rock into a pad. Damp gravel compacts better than dry.
- 7. Level and check again. Set your level on a long 2x4 across the pad in both directions and both diagonals. Aim for level within an inch across the whole pad.
- 8. Contain the edges if the site slopes. Landscape edging, treated timbers, or simply extending the gravel farther on the low side stops the pad from migrating downhill after a storm.
Building on a slope? Extend and build the pad up on the downhill side rather than cutting into the uphill side. Cutting into a hill puts the shed at the bottom of a drainage channel you just created.
What Colorado ground does to a shed foundation
Get the Most Up-to-Date Pricing
Prices shown are current as of Sep 2026 and can change at any time. Options, site prep, permits, and delivery conditions all affect the final cost.
Freeze-thaw cycling
The Front Range swings above and below freezing hundreds of times a year. Water held in soil under a building expands each time it freezes and lifts whatever sits above it. A free-draining gravel pad has very little water in it to freeze, which is exactly why it outperforms a thin slab poured directly on grade.
Expansive clay
Much of the Front Range sits on expansive clay that swells when wet and shrinks when dry. That movement cracks unreinforced concrete and racks buildings that are rigidly attached to it. A gravel pad accommodates a little movement without transferring it into the structure, and a shed on pressure-treated runners can be re-shimmed if it ever needs it — a slab cannot.
Snow load and drainage
Snow that slides off a roof lands in the same line every year. Where that line meets bare dirt, you get a trench. Where it meets a foot of extended gravel, you get drainage. This is the real reason for the one-foot overhang, and it is why our structures are built to Colorado snow and wind loads to begin with.
Mountain and rural sites
Decomposed granite and rocky foothill soils drain beautifully but rarely start out level, and access is often the harder problem than the pad. We cover how those sets go in delivering a shed to mountain or rural properties.
Permits: your foundation choice is part of the review
In most Colorado jurisdictions, a small accessory building that sits on grade is treated differently than one on a permanent foundation. Pueblo, El Paso, Fremont, Douglas, and Park counties each set their own square-footage thresholds, setbacks, and foundation expectations, and the city rules inside those counties differ again.
Two practical takeaways: confirm your threshold before you size the building, and confirm foundation requirements before you order concrete. Start with our Colorado shed permit requirements by county guide, and if you are inside city limits in the Springs, the Colorado Springs shed permit guide has the PPRBD specifics.
If you would rather not run the paperwork at all, permitting is part of our site preparation services — we pull it, and we build the pad to match what we submitted.
What a shed foundation costs
Material is the cheap part; labor and concrete are what move the number. The figures below are general Colorado ranges as of September 2026 and change with supplier, haul distance, and season — always get a current local quote.
| Approach | What it involves | Typical range |
|---|---|---|
| DIY gravel pad | You order road base, strip sod, spread, compact, and level | Material only — a few hundred dollars for most shed sizes |
| Professionally built gravel pad | Layout, excavation, fabric, base course, machine compaction | Modest project cost; quoted with your building |
| Dirtwork and grading | Reshaping a sloped, soft, or poorly draining site first | Site-specific; depends on cut, fill, and haul |
| Poured concrete slab | Excavation, forming, reinforcement, pour, cure | Typically several thousand dollars and up by size |
For where the building itself lands, see how much a shed costs in Colorado.
Delivery day: what the crew needs from your site
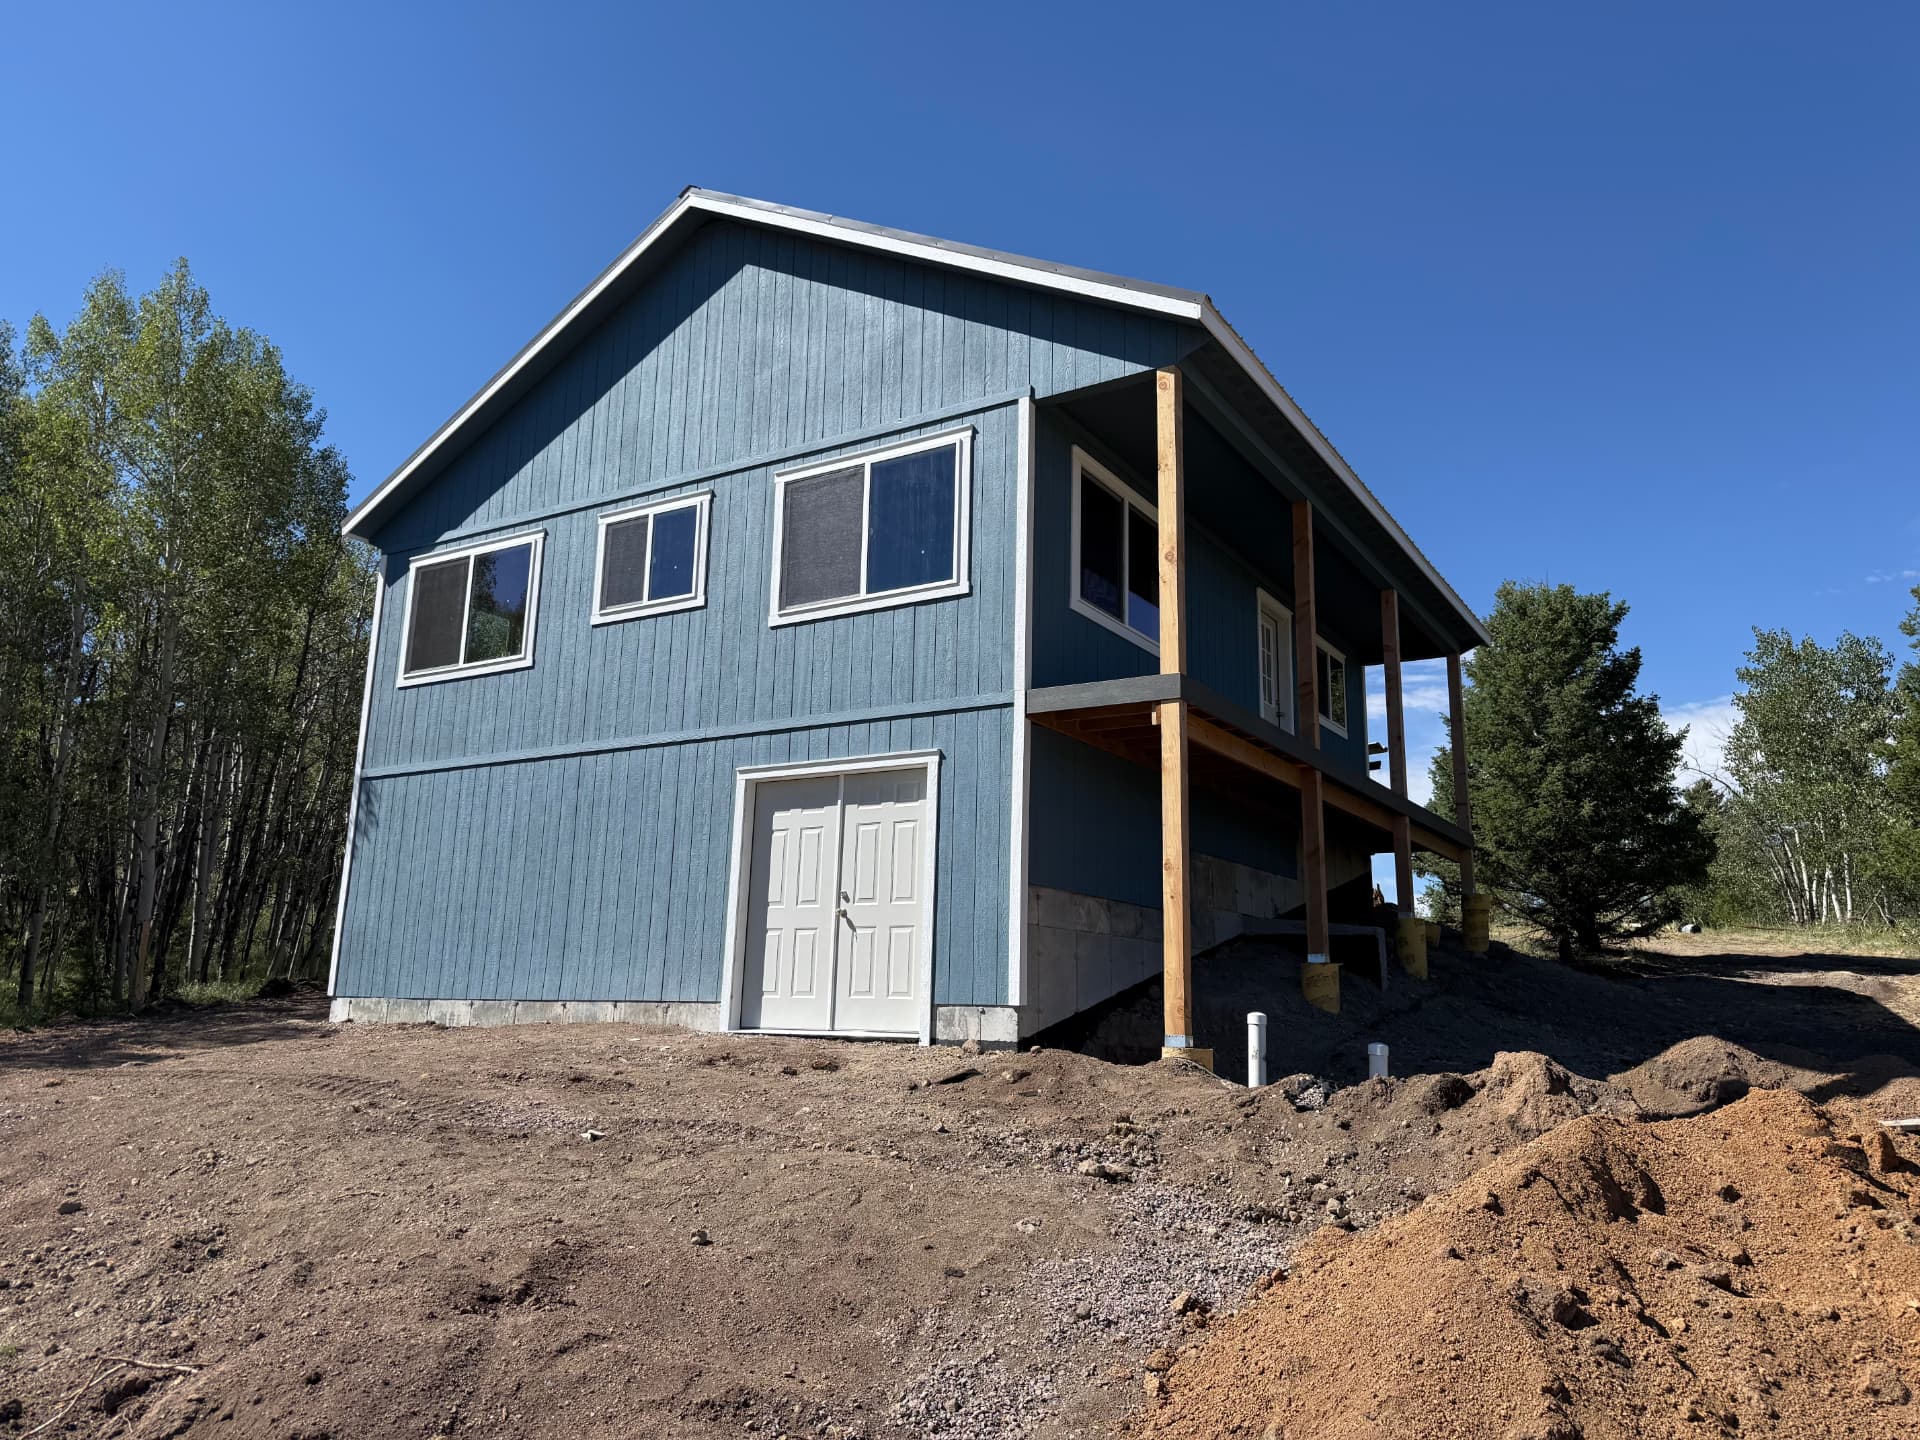
- A pad that is level within an inch or two, compacted, and built one foot larger than the building.
- A clear approach — gates, low branches, and soft or muddy ground are the three things that stop a set.
- Overhead clearance for the building height plus the trailer.
- Sprinkler heads, septic components, and buried utilities marked so nothing gets crushed.
- Someone on site who can confirm the exact placement and orientation of the doors.
We can shim minor slope on arrival with treated shims and solid block. What we cannot do quickly is rebuild a pad — that is when a delivery turns into a return trip or an added charge.
Common shed foundation mistakes
- Setting the shed on grass or dirt. The organic layer breaks down, the corners drop, and the runners stay wet.
- Using pea gravel or river rock. Round stone never locks together, so the pad stays soft forever. Use crushed 3/4 inch road base.
- Skipping compaction. Loose gravel is not a foundation — it is a pile that will settle under the first snow load.
- Building the pad the same size as the shed. With no overhang, roof runoff undercuts the edges within a season or two.
- Laying plastic sheeting under the gravel. It holds water in the pad instead of letting it drain.
- Pouring concrete by default. More expensive, slower, less forgiving on clay, and more likely to pull the project into plan review.
- Digging into a slope. You have just built a drainage ditch and set your shed in the bottom of it.
Frequently asked questions about shed foundations

Written by the team at The Shed Yard — family owned, Colorado built. We handle the building, the site prep, and the permits, start to finish.